|
Home >
Gallery >
USA > Italeri Ki No.6583 - M4A2 Sherman U.S. Marine Corps, 1944 |
|
M4A2 Sherman U.S. Marine Corps, 1944 |
Italeri, 1/35 scale |
 |
| by Blaine Singleton |

Description
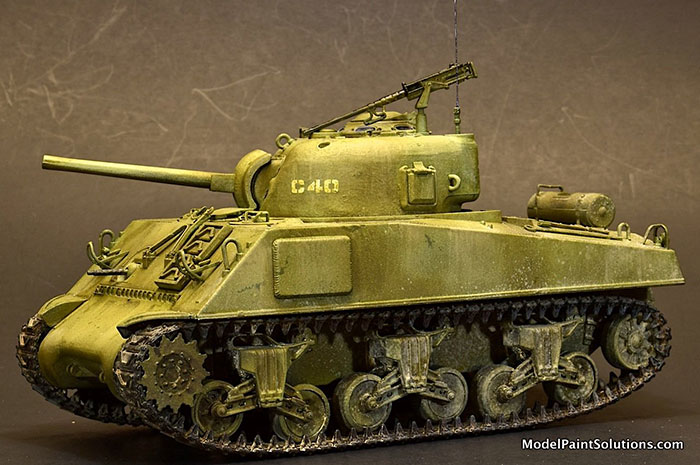
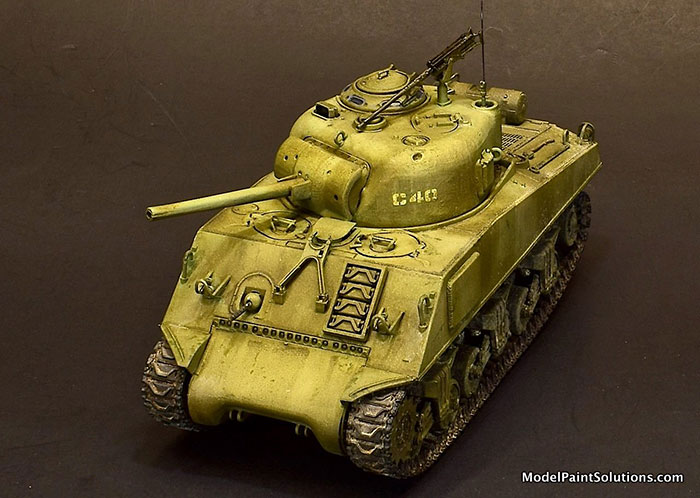
This kit is a re-release from Italeri with a different decal sheet. The kit is an easy build and four versions are provided. I chose to model a Marine M4A2 Sherman that served in the Pelielu Island campaign of August, 1944.
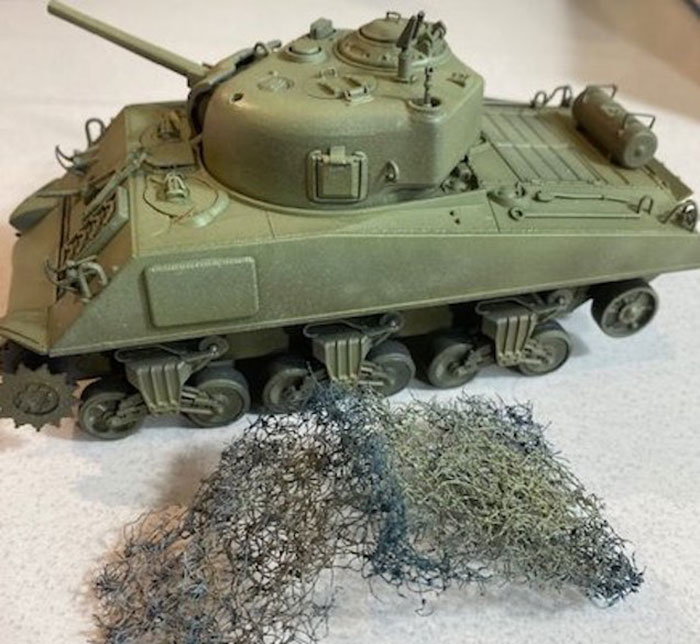
The kit is carried on five olive green sprues. Also included are a set of rubber tracks, a piece of plastic mesh for the deep wading tank screens, and decals for 4 schemes. There are sink marks throughout. However, most are in places that would not be easily seen on the completed model.
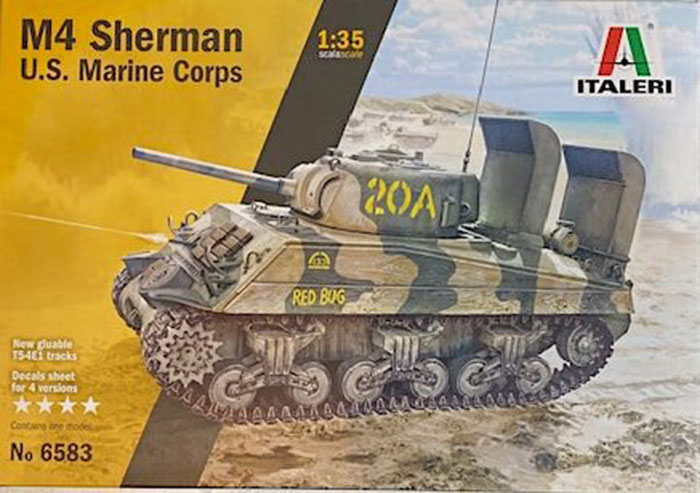
The kit instructions are comprised of a large booklet detailing 9 steps to complete the model. The last step shows assembly and application of the deep wading vents for one of the four possible versions, which are:
-
M4A2 Sherman, "Red Bug", 4th Tank Battalion, USMC, Iwo Jima, February 1945 (with the wading vents)
-
M4A3 Sherman, "Clod Hopper", 4th Tank Battalion, USMC, C Company, Iwo Jima, February 1945
-
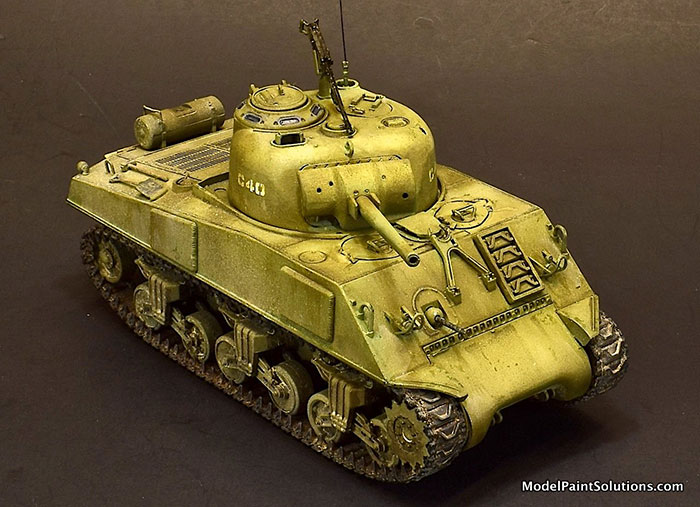
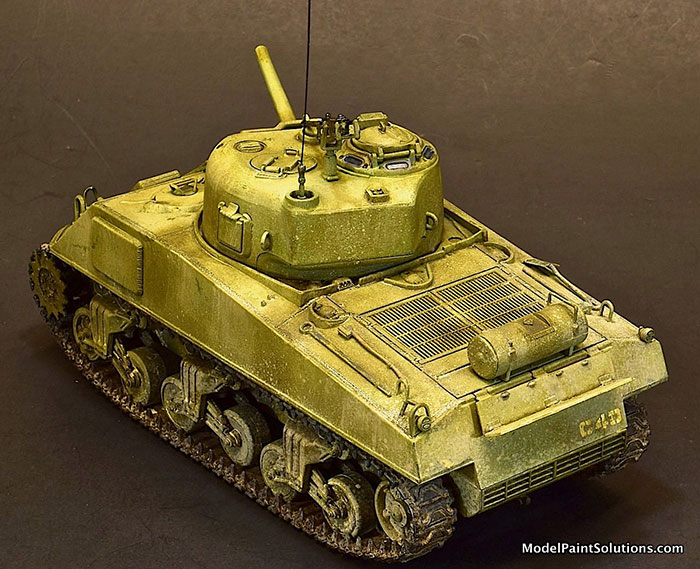
M4A2 Sherman, "Caesar", 2nd Tank Battalion, USMC, C Company, Pelielu Island, August 1944 (subject of this build article)
-
M4A3 Sherman, "Blackjack", 4th Tank Battalion, B Company, USMC, Iwo Jima, February 1945
The Build
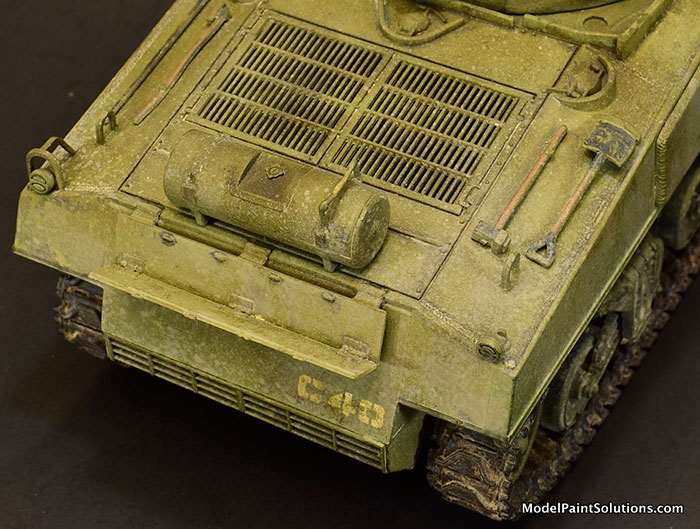
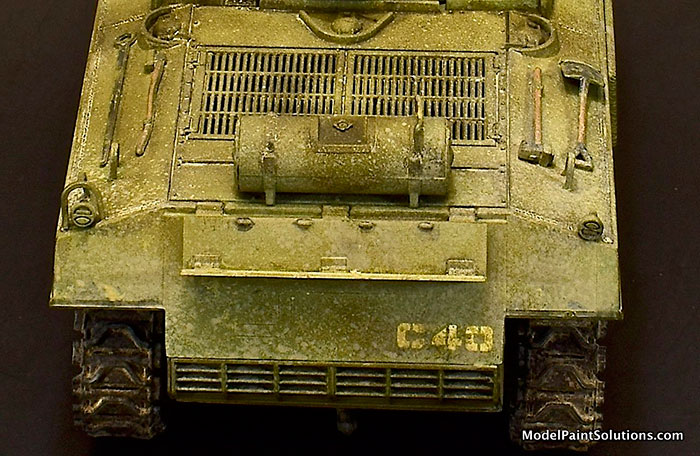
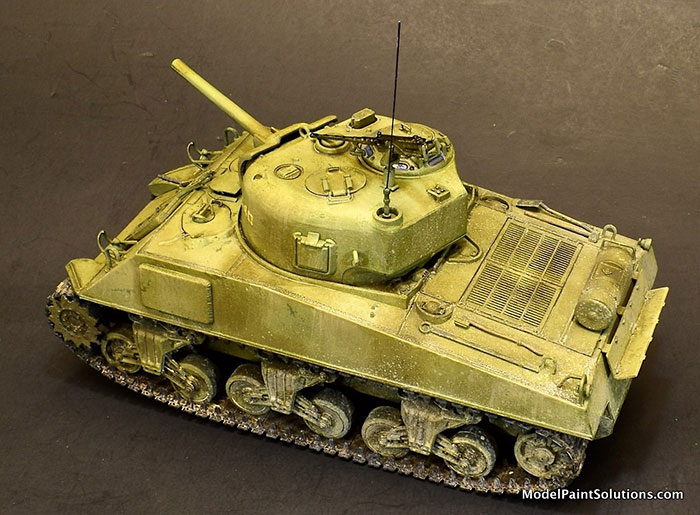
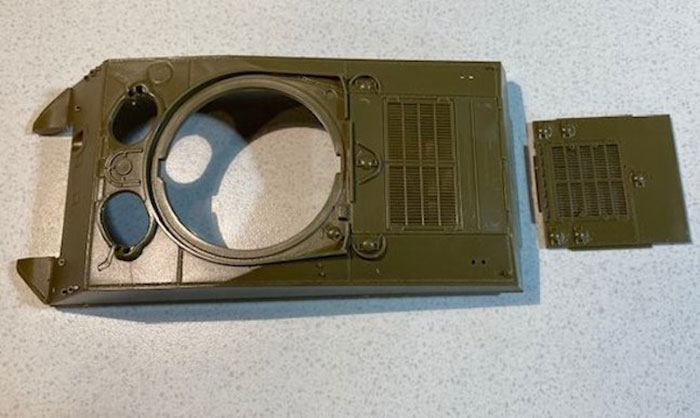
The first step is deciding the version of tank to be built. There is an insert for the engine deck cut out to make an A or C version. The conversion from the kit body was basically cutting out and replacing engine cover grills. I chose not to change anything on the engine deck.
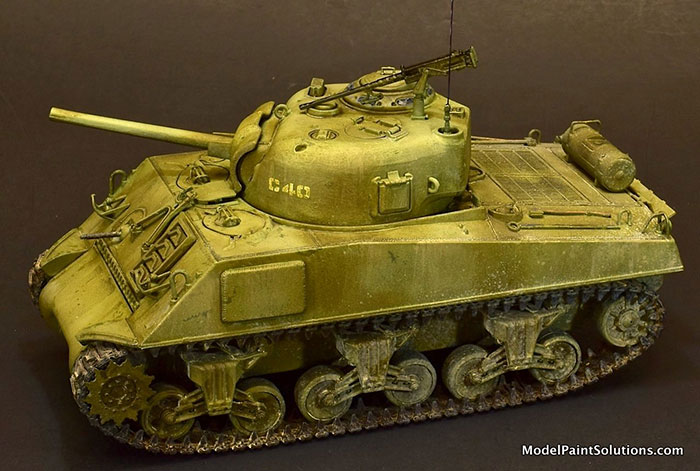
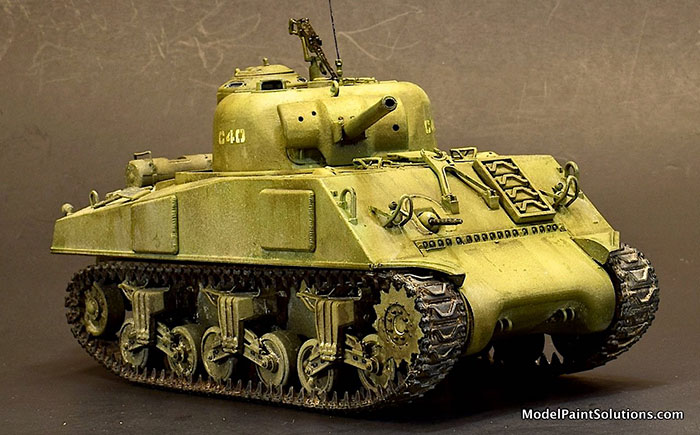
Next was the tank chassis. The model gives you two types of road wheels; spoked or a solid dish. Each bogie and suspension unit (there are three on the left and three on the right) has ten parts and the instructions allow for intermixing of the wheel types. These units were easily built.
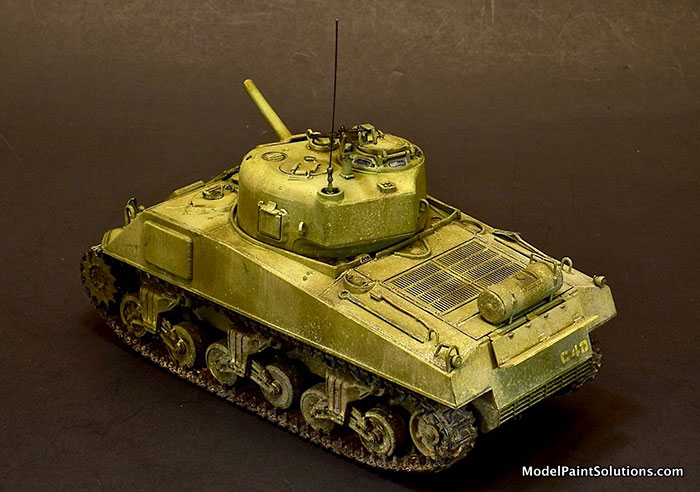
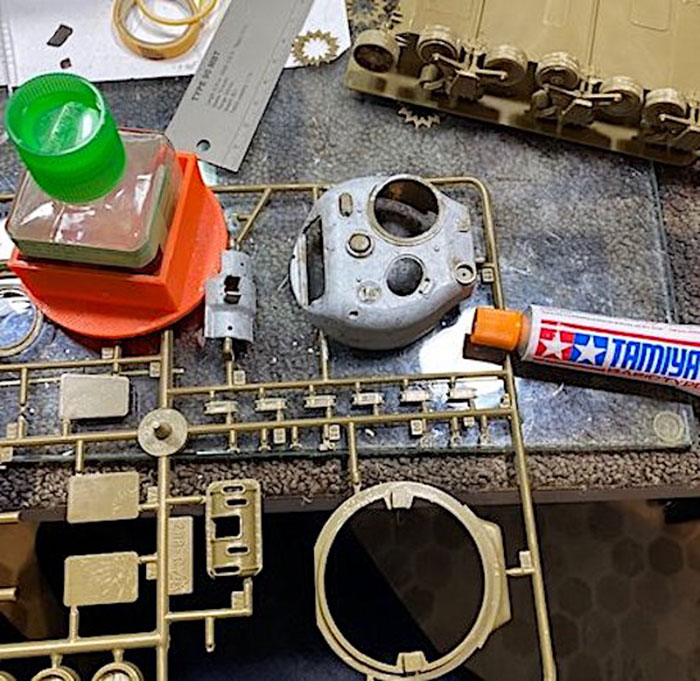
Turret construction was next, and I wanted to give the turret a casting construction look so I thinned Tamiya putty with Tamiya glue and applied the mix to the turret with a stippling technique using a stiff brush. The turret construction was straight forward and easily accomplished.
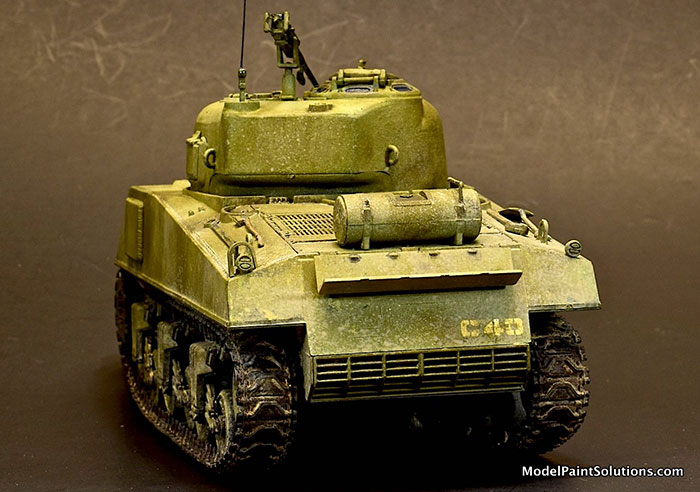
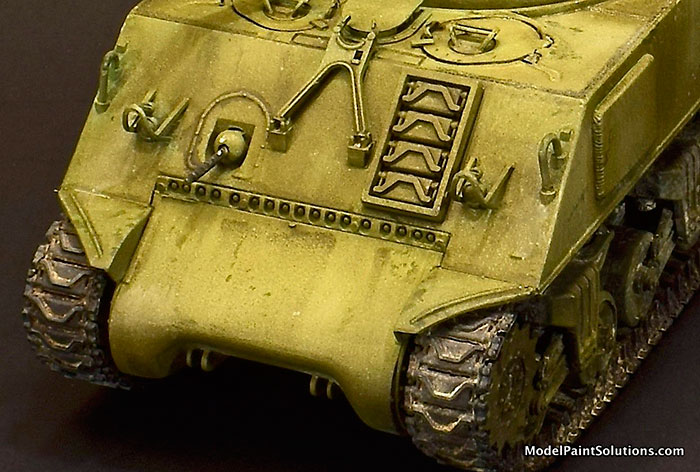
The main gun has a seam down the middle, so care is needed to file the seam while maintaining the round shape. The commanders view ports in the cupola were first painted light gray then over-painted with a dilute mix of Mission MMP-65 Gloss Sea Blue (10% paint: 90% thinner). After this was dry, I filled the areas with Future to give them a glass look. The remainder of assembly was to add hand tools, lights and framing around the lights.
The final assembly step would be the wading vents attached to the back of the body if you wanted to build that version.
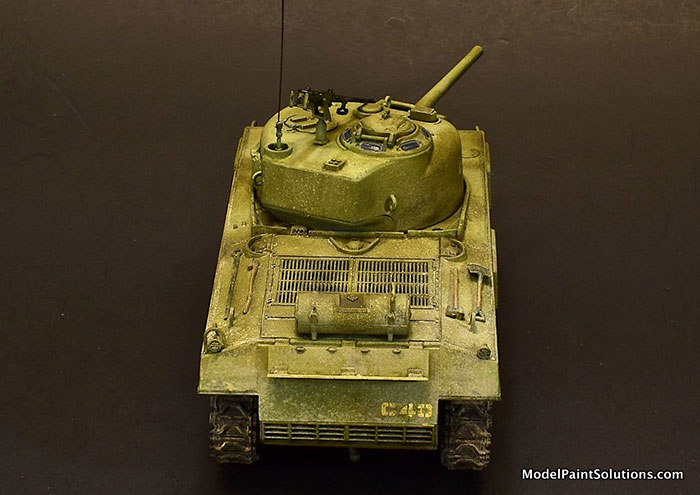
The tracks were glued with C/A, sprayed with flat black Krylon primer, covered with Tamiya TS-80 flat clear, then weathered with track wash and earth and desert pigments.
Primer
The model was primed with Flat Black Krylon Color Maxx paint. I covered the model with about eight quick sprays from the can. Initially when the primer is applied the finish doesn’t look all that great but after a couple of hours the primer shrinks as it dries to expose the smallest of details and looks fantastic. The can I use is enough to prime ~10 different 1/35 models and can be purchased at hardware stores for $4.00 a can. The primer applied with this product makes quick work of getting your models primed providing an excellent base for future layers of acrylic or lacquer paint and no airbrush cleaning needed.

Priming with black paint provided a shadow effect to the recessed areas of the tank and made painting the rubber on the road wheels easy. Any overspray of the base coat on the road wheels rubber portion that will not have road dust can easily be removed.
Basecoat
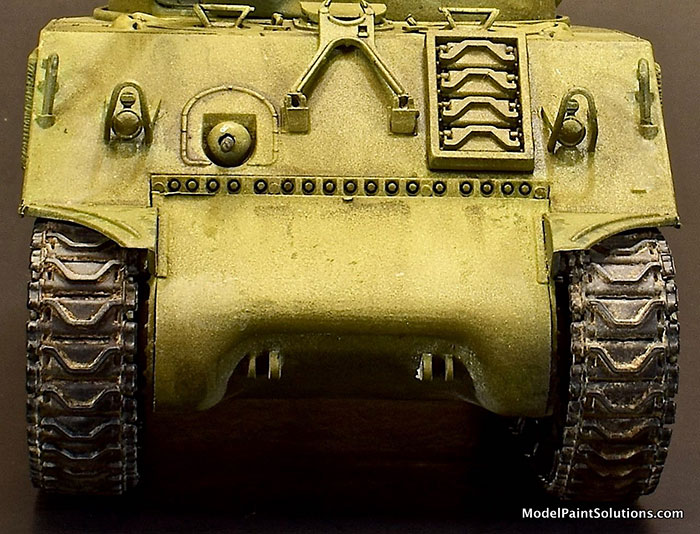
I applied Mission Models US Army Olive Drab (OD) Faded 2 (MMP-021) as an overall coat. I then sprayed Mission Models US Army OD (MMP-026) to the bottom areas of the turret and the lower side of the body to give a shaded effect.
Once the paint had dried, I lightened the MMP-021 paint with 20% Mission White (MMP-001) and shot that through a Scotch Bright scouring pad to give a faded mottled look to the overall paint scheme. I then applied the paint to highlighted areas on the top of the turret, and various places on the body.
Filter
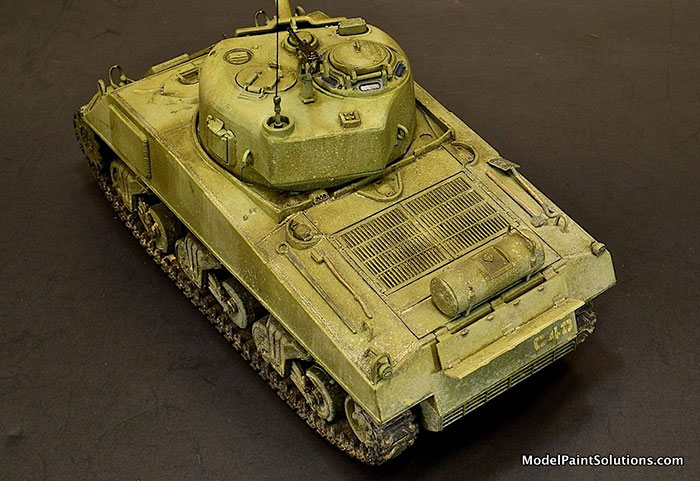
When the paint had dried, I applied a filter of light green over the model to blend the colors applied so far. The filter was made with Abteilung 502 Olive Green with 10% 502 Buff in Mona Lisa Odorless thinner.
When the filter had dried it was time for a pin wash made from 502 Burnt Umber, 502 Shadow Brown, and Mona Lisa Odorless thinner.
Chipping
For paint chipping I used a mix of Mission Models Black, Brown, and Red paints. The mixed color was applied to areas susceptible to chipping on the real vehicle via foam pad pieces dipped in the paint. Note: The foam was dabbed on a paper towel to remove most of the paint, then applied to the model. The Sherman did not have very many paint chips on it.
Oil Paint Highlights
Again, I used Abteilung 502 paints: Light Green, Dark Green, Blue and Buff. These were used to apply a dot filter on the tank and then blended.
Vertical brush strokes on the sides and a stippling motion on all the horizontal surfaces was used.
Hand Tools
The tools with wooden handles were painted with MMP-038, Desert Tan and when that was dry, I applied Tamiya Dark Brown Panel Liner to produce a wood-like appearance.
The metal tools were painted with Mission Cold Rolled Steel (MMM-002).
Clear Coat
After applying the decals, I applied Mission Models Semi-Gloss Clear (MMA-005) over the whole model. The Semi-Gloss was diluted to 30% by volume with Mission Thinner (Ratios: Semi-Gloss to Thinner; 30:70). This was applied in light coats to give the model and decals an even finish.
Weathering
For starters I dry-brushed Abteilung 502 “Engine Grease” in some areas where shadows would be as well as stains. In addition, rain marks were replicated with a thinned mixture of Mission paints, and sharp angles were enhanced with a bit of pencil graphite. Vallejo pigments (Light Dust and European Dust) were used on the running gear and fender areas and mud splatters were added by flicking wet paint from the bristles of a small paint brush.
Matt Coat
I used a coat of Tamiya TS-80 Flat Clear to reduce the shine of the model. When that was dry, I came back in a few small areas with the faded Mission O.D. Green (MMP-021) to give the model a varied sheen overall.
Conclusion
This is a good basic level model to start building armor. It goes together fast and easy with a little clean up of the parts. And, the quicker the build, the quicker to the painting and weathering stage. All armor builders will eventually build a Sherman, this could be that kit. Thanks for reading along.
Blaine Singleton, Seattle Washington
For more on this review visit Modelpaintsolutions.com
Model, Images and Text
© 2020 by Blaine Singleton for Model Paint Solutions
Page Created 6 December, 2020
Page Last Updated
6 December, 2020
|